
How to post a video on Facebook in 2026: Step-by-step guide
Feb 3, 20268 minutes
ContentStudio API plan is now available. Create automations using Claude, Zapier, n8n, make, etc. Explore plan!
Written by
Areesha KhanPublished
Updated
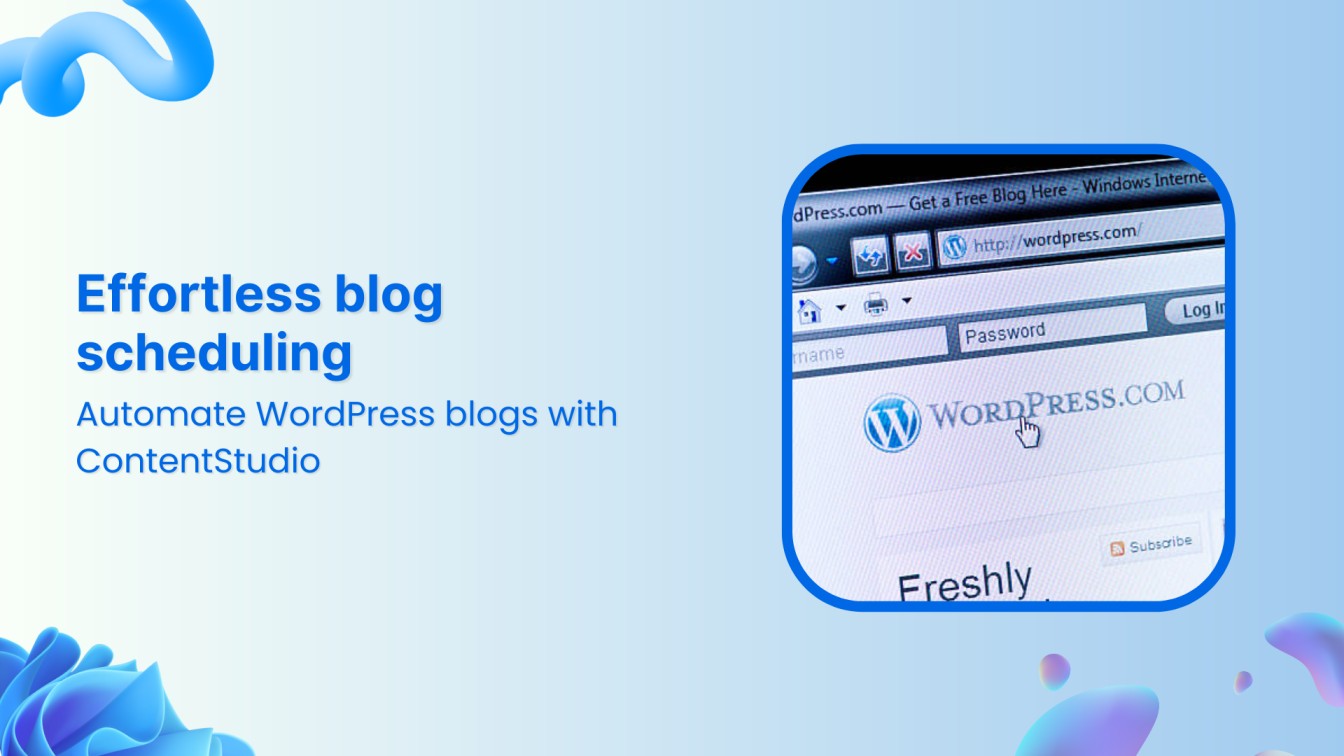
In today’s digital landscape, maintaining consistency is crucial for building a strong online presence, whether you’re a solo blogger, marketer, or business owner.
However, balancing content creation, promotion, and other tasks can be overwhelming. Scheduling blog posts provides an effective way to keep content flowing without constant manual effort.
WordPress, a popular platform for millions, offers excellent content management tools.
Paired with ContentStudio, the process becomes even more efficient. ContentStudio allows you to schedule posts and provides features like SEO optimization, content calendars, and advanced analytics.
In this guide, we’ll show you how to schedule WordPress blog posts using ContentStudio, making your workflow smoother and more productive.
Here’s how to do it :
The first step in this process is to connect your WordPress site with ContentStudio.
Without this connection, you won’t be able to schedule or publish content from the dashboard.
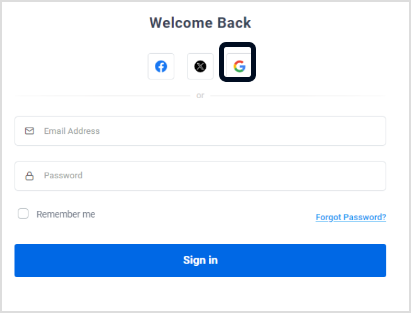
Sign in to your ContentStudio account or head over to the official website to begin your free trial.
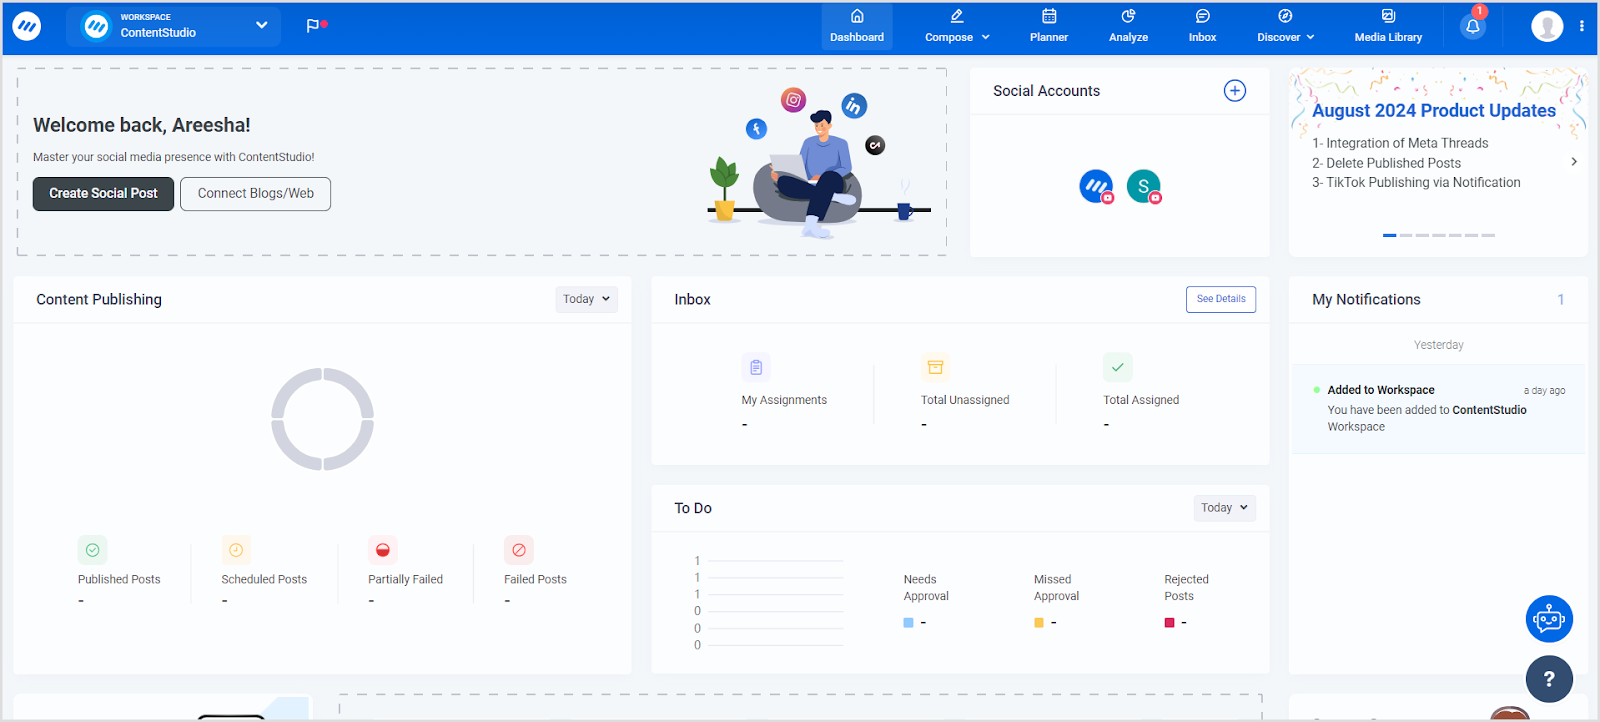
You will arrive at the ContentStudio dashboard, where you can manage, create, and schedule your blog posts with ease.
Click on your profile icon and select “Blogs/Websites”.
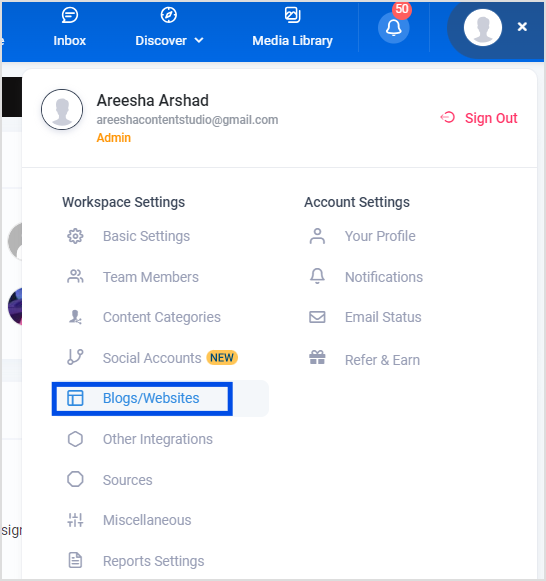
From the available platforms, authenticate your WordPress site by entering your WordPress URL, username, and password. If your site is hosted on the best managed hosting for WordPress, connecting is fast and hassle-free thanks to optimized servers.

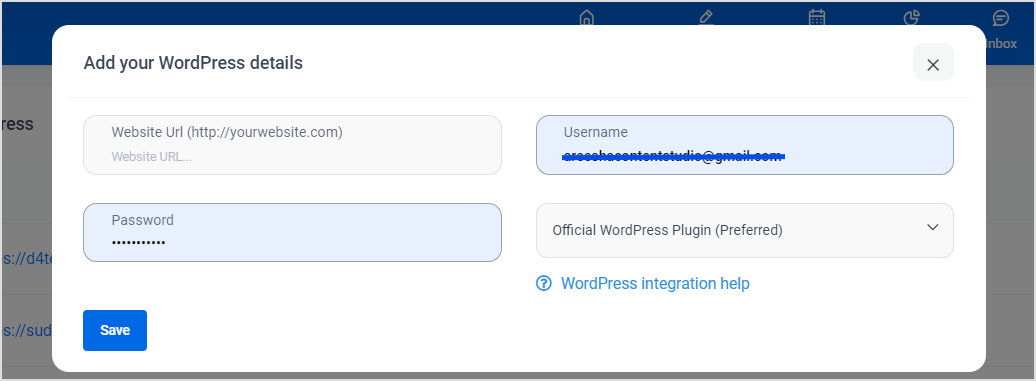
Once authenticated, your WordPress account will now be connected to ContentStudio.
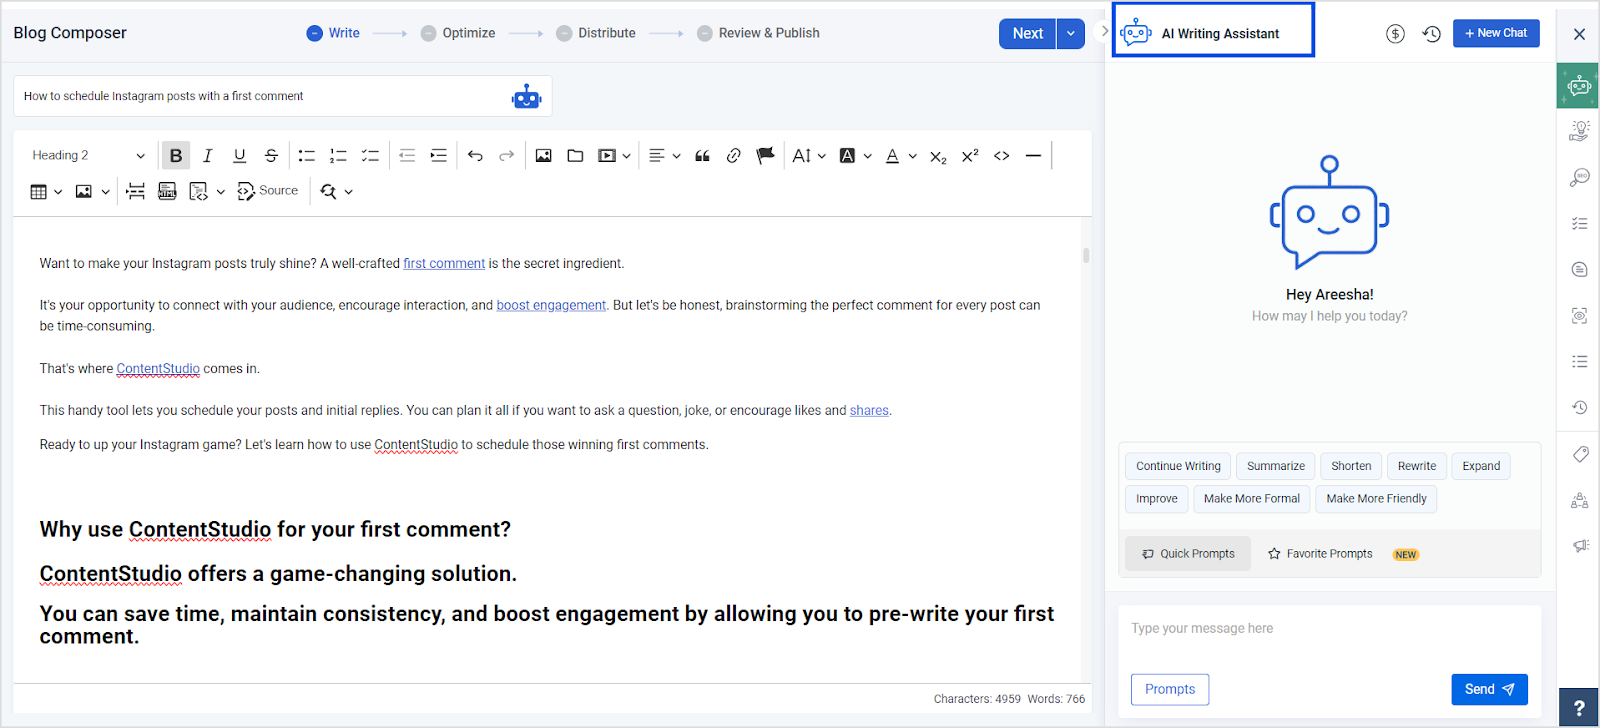
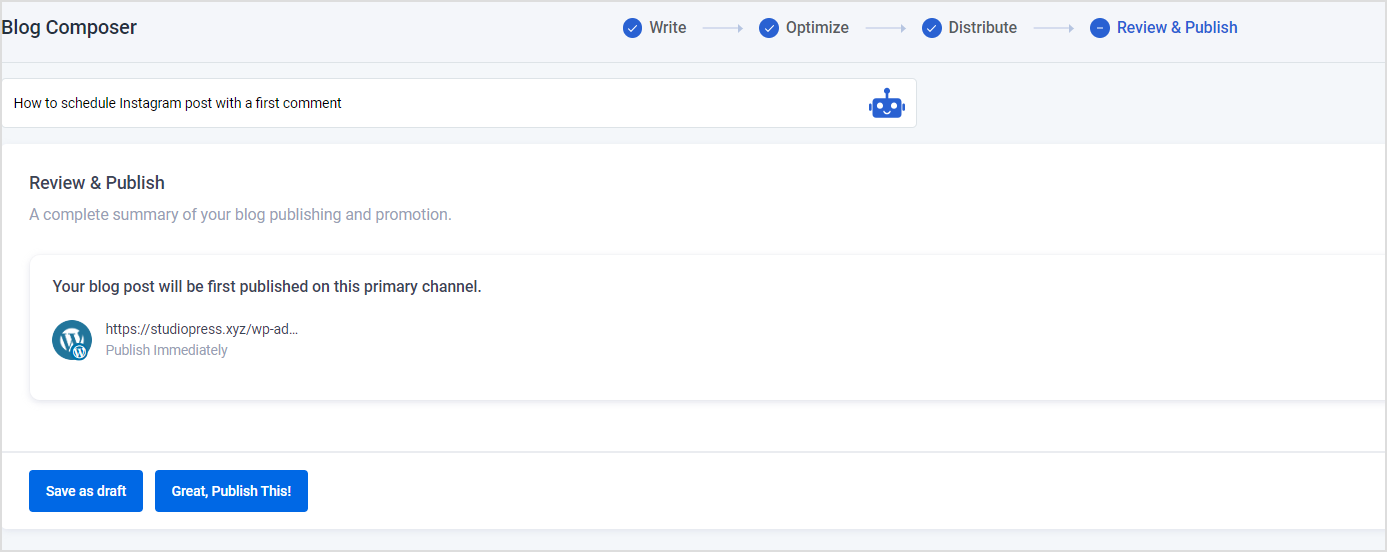
Now that your WordPress site is connected, it’s time to create the blog post.
From the dashboard click on Create Blog Post.
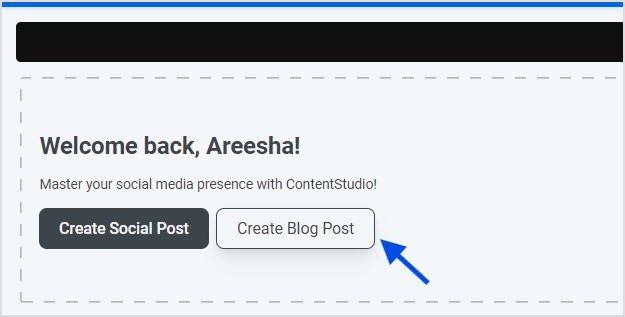
It will lead you to the blog composer.
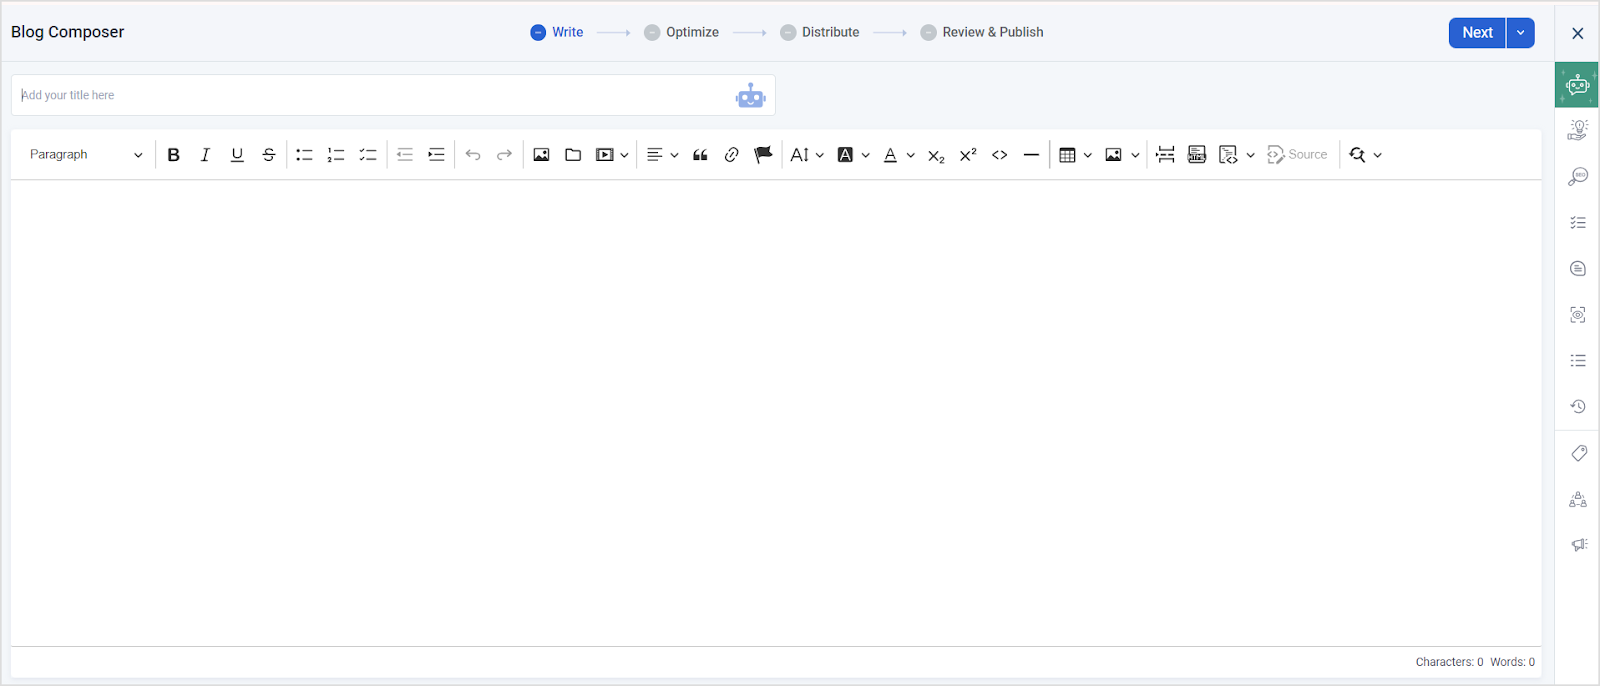
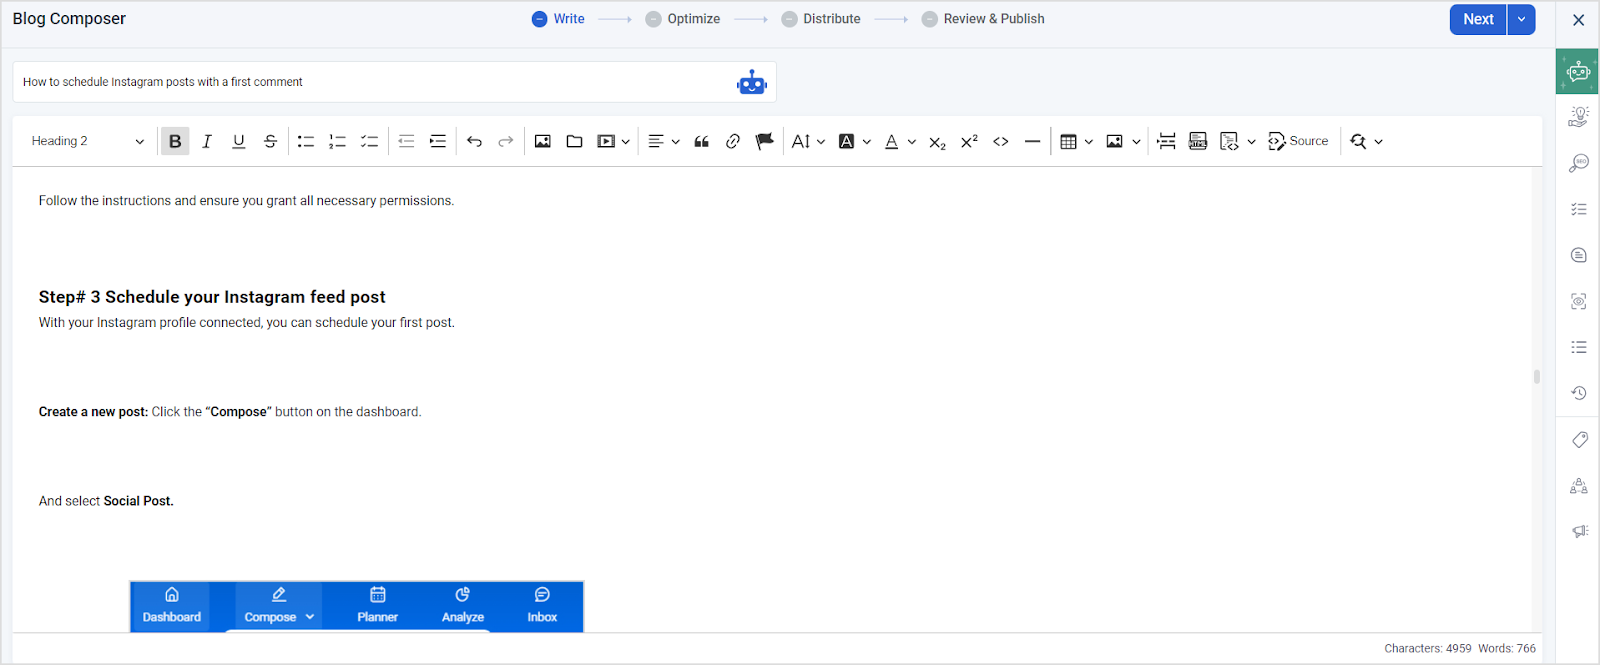
Compose your content in the editor. You can format your text, add images, titles, links, and tags directly within ContentStudio.
Pro tip: Use ContentStudio’s AI-powered writing assistant to generate engaging introductions or optimize your existing content for SEO.
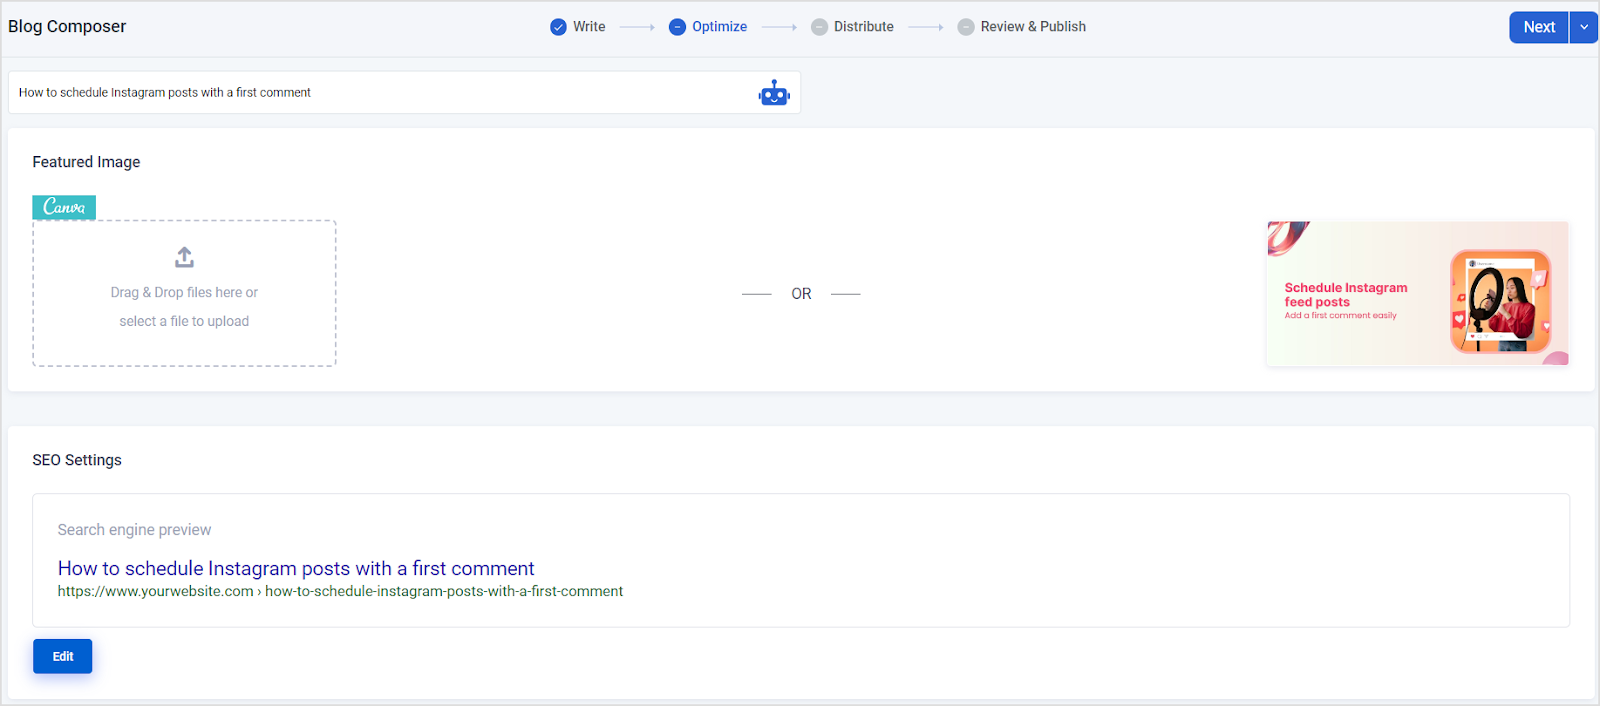
In the next step, add a feature image.
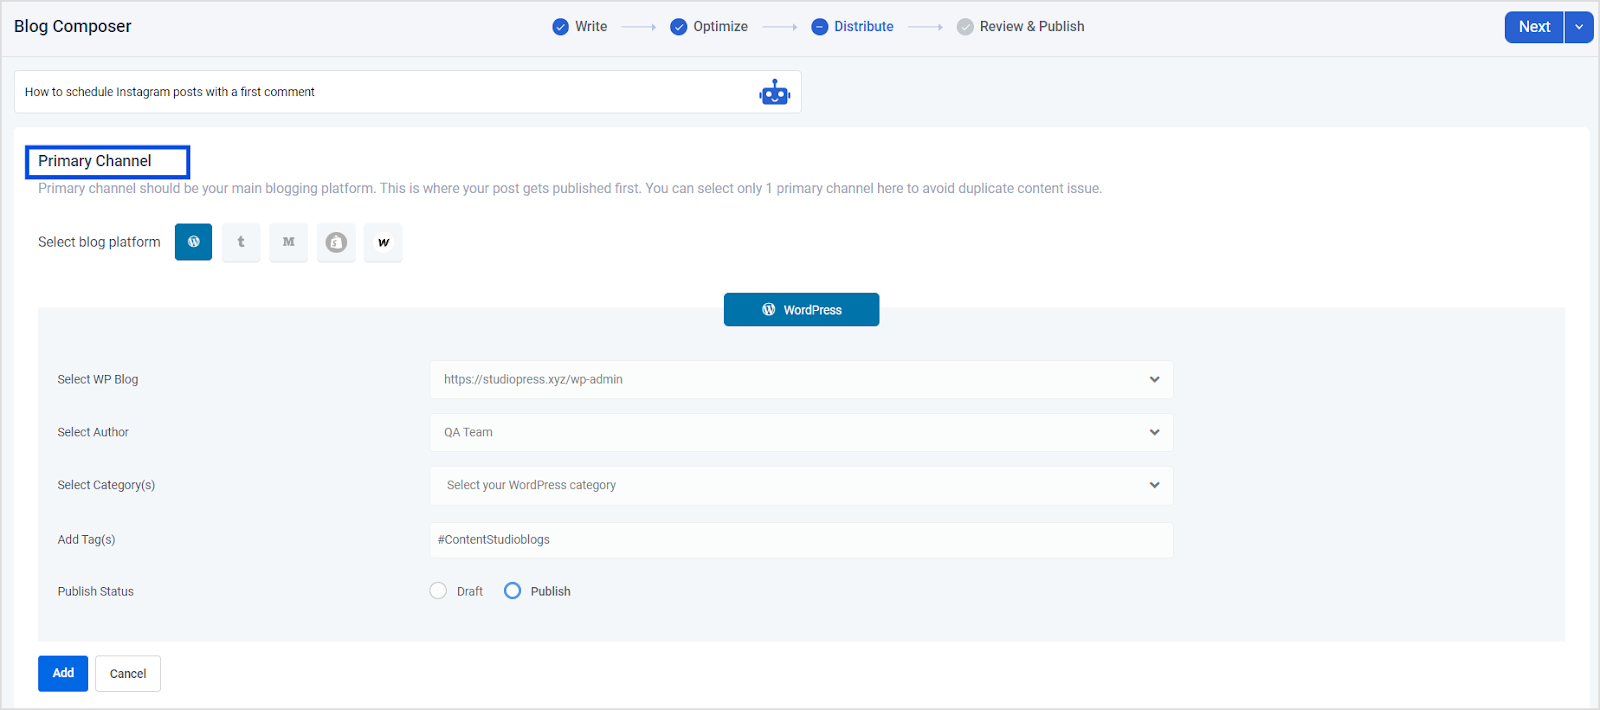
The Primary Channel section is crucial for ensuring your content is organized and published correctly.
Here’s a quick overview of the options available:
Select WP blog: Enter the URL of your WordPress site.
Select author: Choose the author from your WordPress users.
Select category(s): Pick a category for the blog post.
Add tag(s): Include relevant tags (e.g., #ContentStudioblogs).
Publish status: Choose to either publish or save as a draft.
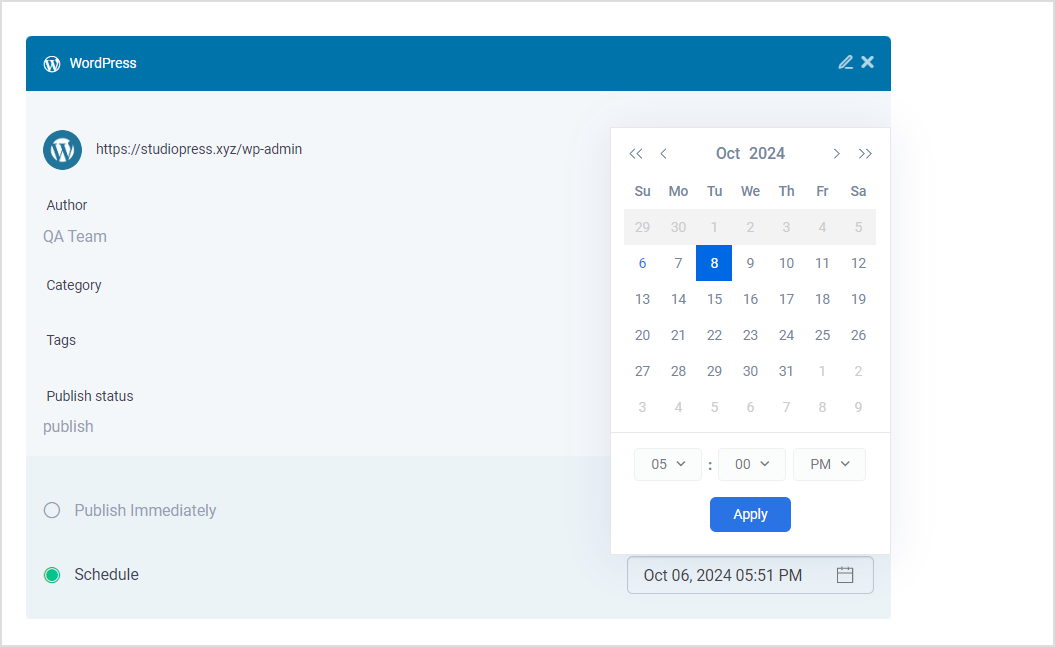
Select the date and time you want the post to go live.
Double-check the time zone to ensure the post is scheduled correctly.
Social Media Content Calendar
Stay consistent and organized with Contentstudio’s social media content calendar for marketers and agencies.
Get Started for FREE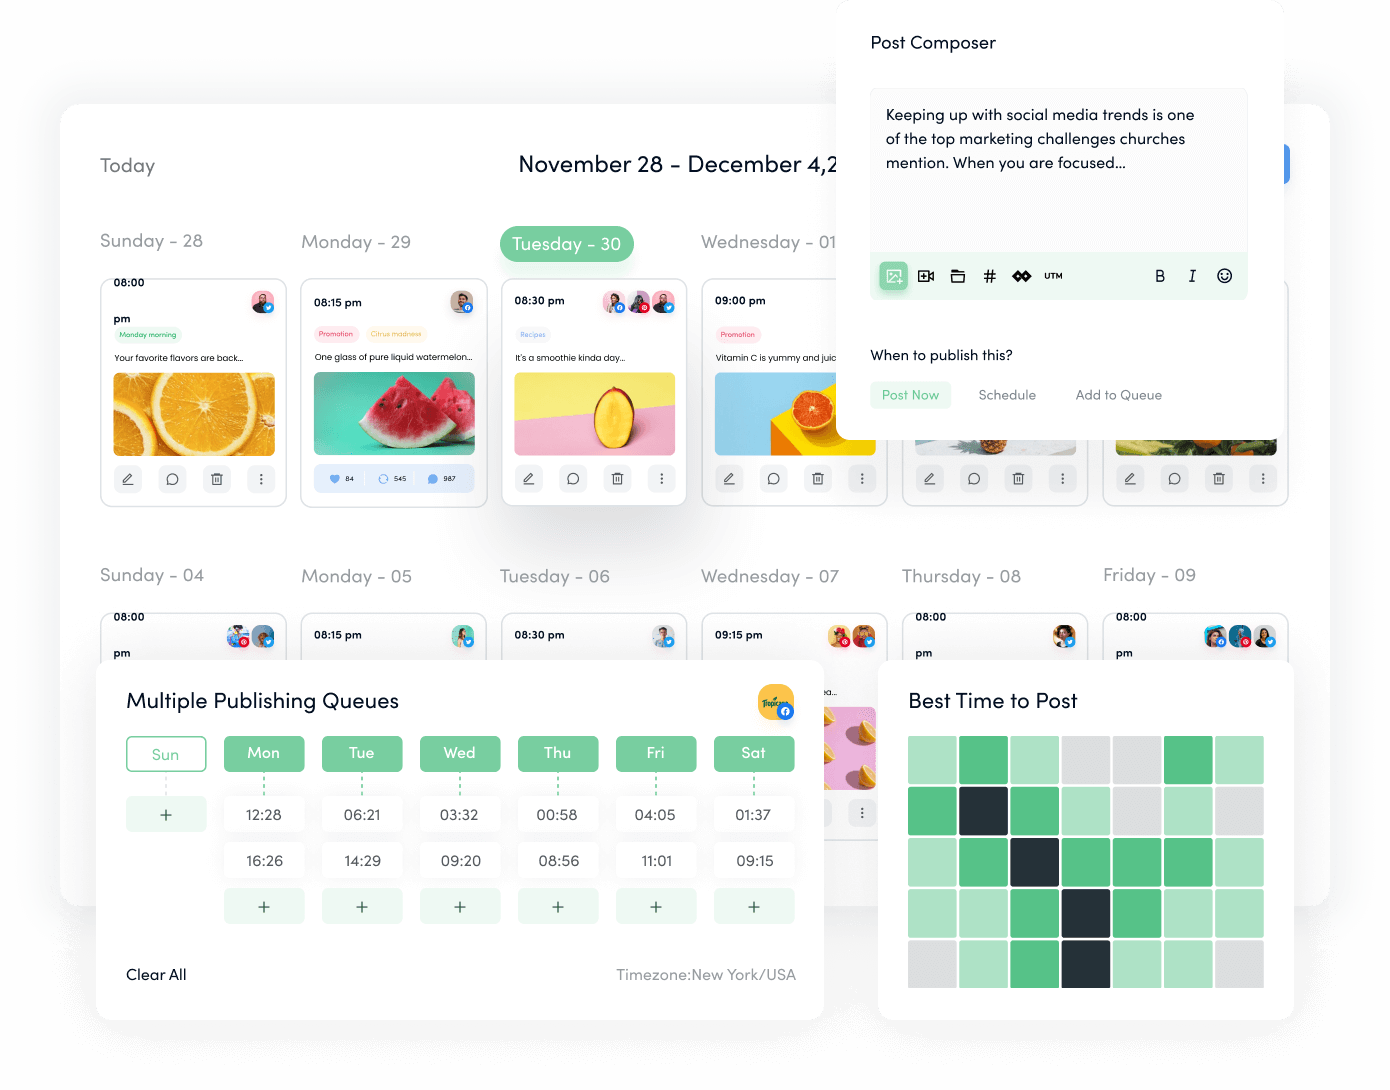
After finalizing your blog post, hit the publish button.
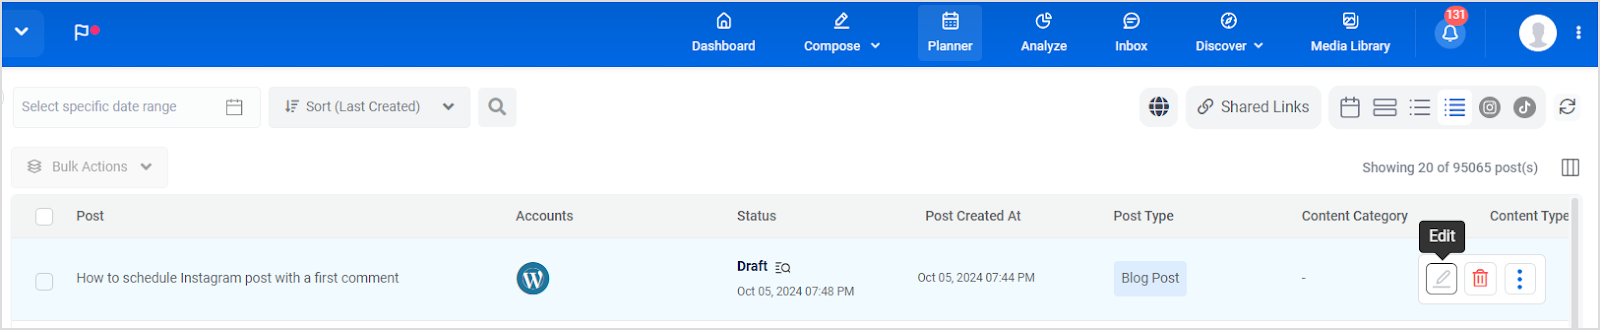
Once your post is scheduled, you can still make changes if necessary.
ContentStudio allows you to edit or reschedule your posts even after they’ve been scheduled.
Navigate to the Planner tab in ContentStudio.
Click on the scheduled post to make any edits or change the schedule.
Social Media Analytics
Fine-tune your social media strategy for success with in-depth analytics and white-labeled reports.
Get Started for FREE
Scheduling blog posts on WordPress using ContentStudio not only saves time but also ensures that your content is delivered at the right moment.
By following these steps, you can streamline your blogging process and focus more on creating engaging content.
Happy scheduling!
Can I schedule multiple blog posts at once?
Yes, ContentStudio allows you to schedule multiple blog posts simultaneously, making it easier to manage your content calendar.
Is there a limit to the number of tags I can add?
There is no specific limit to the number of tags you can add, but it’s best to keep them relevant to maintain clarity and organization.
What happens to my scheduled post if I edit it?
If you edit a scheduled post, it will retain its scheduled status. You can still make changes up until the time it is set to publish.
Why should I schedule my blog posts?
Scheduling helps maintain consistency in your posting frequency, allowing you to plan your content ahead of time and manage your blogging workload more efficiently.
Plan 0 Days of Content in 0 Minutes
Create, schedule, publish and analyze your content across all your social media channels from one simple dashboard.
4.7 on Capterra • 16,500+ marketers trust ContentStudio

Areesha Khan is a Product Education Writer at ContentStudio specializing in social media scheduling and publishing. Her step-by-step guides cover scheduling Reels, carousels, and Shorts across multiple Instagram, Facebook, and YouTube accounts, plus repeat posting and LinkedIn scheduling, and she reviews how-to content for step-by-step accuracy so every workflow reflects how ContentStudio actually works.
View all posts by Areesha KhanRecommended for you
How to post a video on Facebook in 2026: Step-by-step guide
How to turn off active status on instagram in 2026 (Step-by-step guide)
How to write and publish LinkedIn articles that build authority

How to start a social media marketing agency in 2026

