Bulk-generate & schedule posts in seconds with Smart Scheduling. Try now!
Instagram Direct Publishing via Zapier
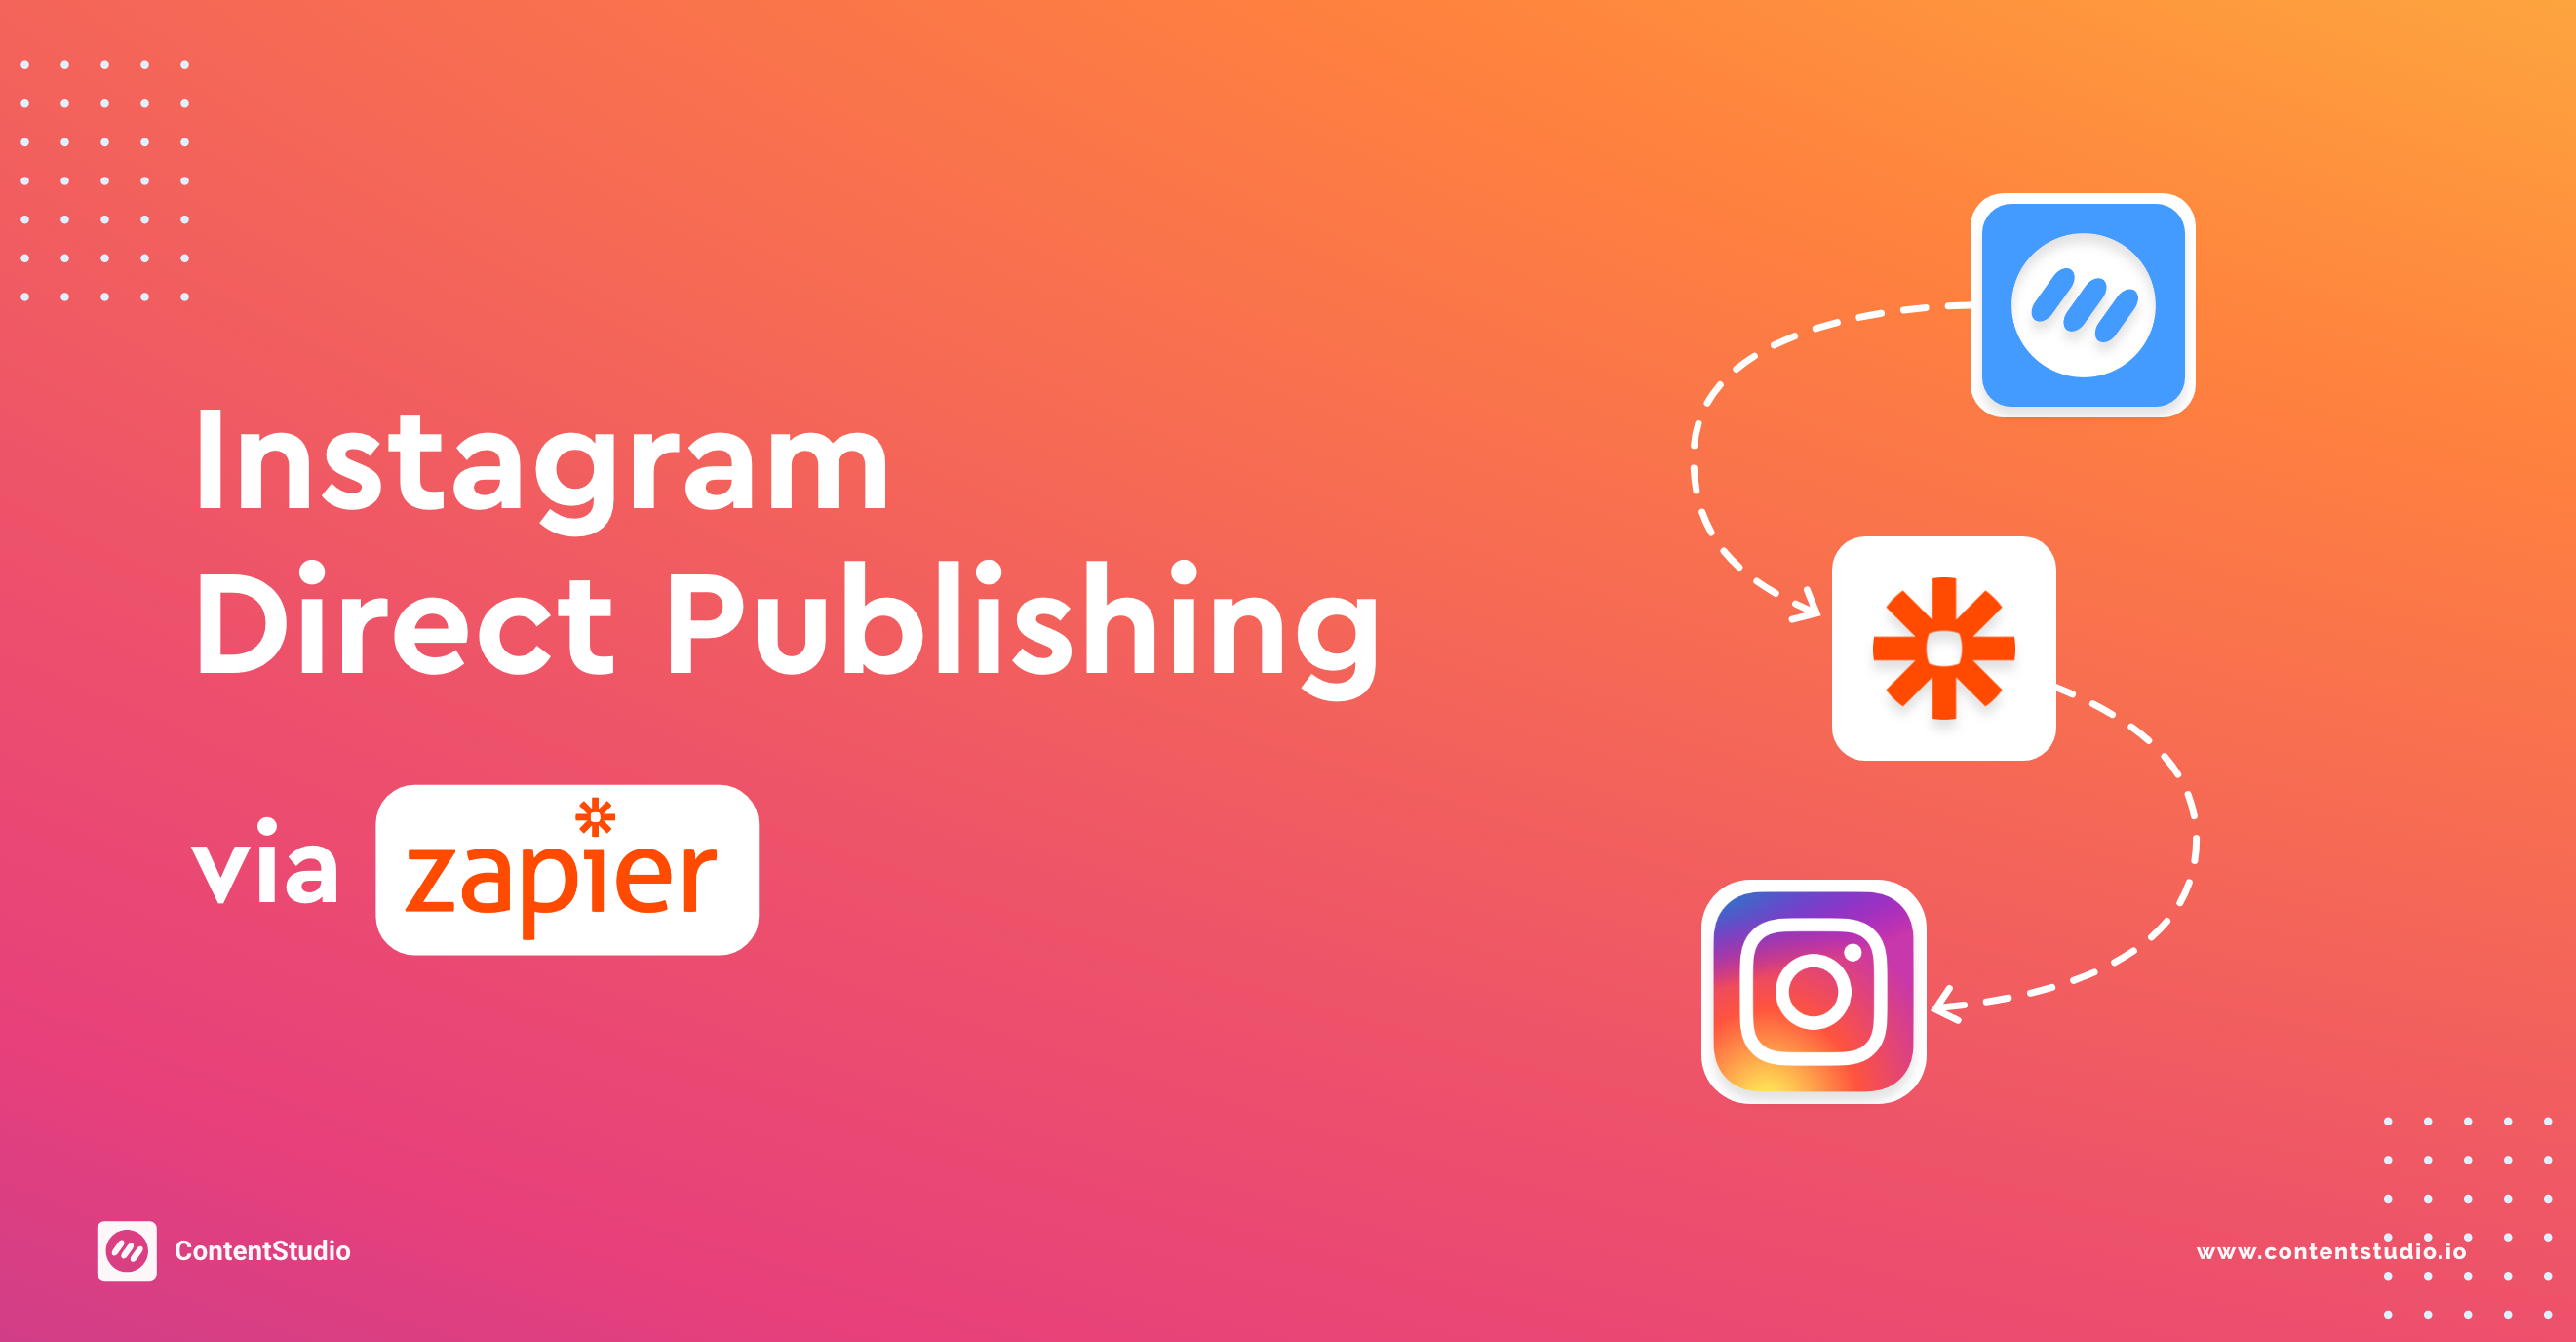
Happy September, marketers! Hope you all have a productive and happy month ahead. We are here to cheer you up with a piece of great news! We have practically been waiting months for this integration, and finally, after months of development, we are excited to announce that ContentStudio has direct Instagram Publishing via Zapier!
If you’re a newbie, let me give you a brief cool overview of what Zapier actually is, and what this integration actually means:
What is Zapier?
Zapier is a platform that helps apps talk to each other.
In order to make your life simpler, Zapier helps to integrate your apps and exchange data. It is sort of like a middle-man that lets you automate your posts. It is pertinent to note that, without Zapier, the direct Instagram posting was quite unlikely to be achieved as the parent company Facebook had changed some policies and delayed the approval process for API approval.
However, now, with just a couple of clicks, you can set up the entire process that works automatically!
Why did we need to integrate with Zapier?
As most of you will be aware, the Instagram posting was quite the headache! Without Instagram’s API access, users had to approve of a push notification right before scheduling time. That means waking up at 3 am to approve of a post if you had clients in different timezones! Not to mention the trouble of linking the device and connecting to the ContentStudio app!
How will it help me?
This integration greatly changes things. Talk about turbo-charging your productivity!
Zapier is a powerhouse that allows automation of 2000+ popular web applications.
The end result? In the least investment, you get all the necessary exposure and the ability to automate manually tedious tasks.
(Note: Yes, you can use the free Zapier account! You can schedule almost 100 posts in 3 weeks, and the limit refreshes so you don’t need to worry about paying a dime!)
Are there any rules I should remember?
- After scheduling, the post will take at least ten minutes to show up on Instagram.
- Multiple pictures, stories, videos, IGTVs are not supported due to API limitations.
- The images that you post on Instagram need to have this specific aspect ratio:
Portrait: 4:5
Square: 1:1
Landscape: 1.91:1
This image aspect ratio is a compulsory requirement by Zapier in order to post on Instagram.
Getting Started With ContentStudio & Zapier
Before we begin, make sure that you have:
- A ContentStudio account. Login to your account. If you haven’t already subscribed to a plan, then do it here.
- Zapier account. You can create your Zapier account here.
- Instagram Business account. Make sure that your Instagram account is connected to your Facebook account.
Part 1: How To Create A Zap
Here are the steps to follow to connect your Business Instagram account to ContentStudio through Zapier. This integration will allow you to publish single-image posts directly without the need for a push reminder.
Step 1:
Create an account on Zapier.

Step 2:
In the dashboard, click on ” Make a Zap” on the left-hand side menu.

Note: If you want to use a free Zapier account, you can distribute your Instagram accounts in multiple Zapier accounts.
You will need to make one Zap for each unique Instagram account. To put it simply, if you have 5 Instagram accounts, you will need 5 Zaps.
Step 3:
In this newly opened window, search up ContentStudio from the list of available applications.

Step 4:
Choose ContentStudio from the list of applications and choose ” A Post Is Ready to Publish” as a triggered event.

What’s a trigger event?
A trigger is an event that the Zap waits for, as soon as the requirement is met, the event is executed. Once you’ve set up a Zap, Zapier will monitor for that trigger event.
Example:
You want to set up a Zap that sends a direct message in Slack to yourself every time you receive a new email in Gmail. In this Zap, the trigger is the new email in Gmail.
Step 5:
Click on Continue.
Step 6:
Sign in with your ContentStudio account. Authorize Zapier to access your ContentStudio account and then click Continue.

Step 7:
Select Instagram from the dropdown menu in the Customize post section in Platform Type. Choose the respective workspace and the Instagram social account.

Step 8:
Click on the Test trigger to make sure everything is set up well.

What does Testing a Trigger mean?
Testing a trigger makes sure that all the requirements from ContentStudio are met and confirms that the “trigger” is ready for the action.
Step 9:
Zapier will try to test the trigger. If you already have a recent post pending in the queue, it will display that information. However, if you do not have a post, and get an error, it’s no problem, please press on Skip Test.

Step 10:
You will see a default post, like below. Please press Continue.

Congratulations! That’s all from the trigger part! 🙂
Part 2: Connecting Instagram
Step 1:
Moving on, search for Instagram for Business (Beta) under “Choose app and event” and select it. After that, choose ” Publish Photo” as an action event and press continue.

What’s an action event?
An action is a job your Zap performs when your trigger event occurs. Consequently, as soon as the event is “triggered”, the scheduled posts are ready to post; the Zap is triggered, and the action is performed by the “Instagram Business” integration.
Step 2:
Connect your Instagram Business account in the dropdown menu. You can enter the credentials of your Facebook account which is linked to your Instagram account.
Once you log in, and it is connected, you will see your connected account, as shown below:

Step 3:
Select the appropriate Instagram account from the drop-down menu in Customize Media.

Step 4:
Now, make sure you fill all the relevant details. Select the Image URL from the given dropdown menu.

Step 5:
Click on the Caption box and select Post Caption.

Step 6:
Select Tagged Users from the dropdown menu. Proceed to add location.

Note: After this step, you will also be able to tag other users, and geo-tag your location!
How does this work?
We will extract @mentioned users from the text filled in the Composer text field.
When a user selects an Instagram profile, a Location icon will appear on the Composer screen, next to the UTM links. Here, the user will be able to tag locations by filling in the “location” text box.
Step 7:
After proceeding, you can press Test & Continue. This will post a sample image on Instagram. You can press Skip Test to avoid posting.

Step 8:
Most importantly, turn on your Zap. You can even rename it and share it with your colleagues!

Part 3: Publishing from ContentStudio
Step 1:
Head back to ContentStudio.
Step 2:
Create a Single Image post for your Instagram that you have connected to Zapier.
Step 3:
Publish and schedule the posts. Furthermore, you can also add posts to the queue.
Step 4:
Sit back, and relax!
Bonus Tip:


Over to you now…
Have you signed up for this integration yet? No? Well, what are you waiting for? Your thoughts and suggestions, let me know in the comments!
Recommended for you
Powerful social media management software
14-day free trial - No credit card required.
